![]()


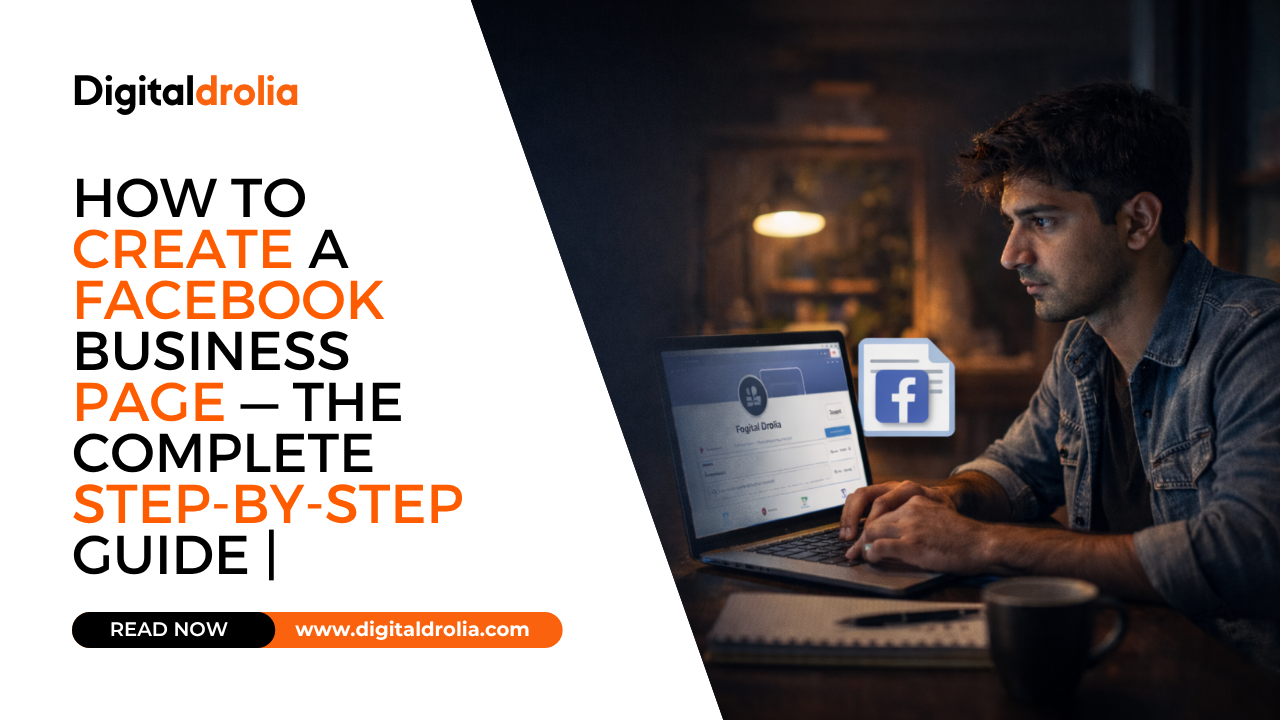
How to Create a Facebook Business Page — The Complete Step-by-Step Guide | Digital Drolia
Let me guess.
You have been putting this off for a while. Maybe you tried once, got confused halfway through, and closed the tab. Maybe someone told you “just create a Facebook page” like it was the simplest thing in the world — and you nodded along while having absolutely no idea where to start.
Or maybe you are completely new to this, and you just want to do it right the first time.
Whatever brought you here — you are in the right place.
In this guide, we are going to walk through every single step of creating a Facebook Business Page. Not just the technical clicks, but the why behind each decision — so that by the end, you do not just have a page. You have a page that is actually set up to attract customers, build trust, and work for your business around the clock.
Let’s get into it.
Why Your Business Needs a Facebook Page in 2025
Before we start clicking buttons, let us spend a moment on the bigger picture.
Facebook has over 3 billion monthly active users. In India alone, there are over 350 million Facebook users — and a massive chunk of them use it every single day to discover products, read reviews, message businesses, and make purchase decisions.
Here is the critical thing most people miss: a Facebook Business Page is not just a social media profile. It is a digital storefront that is open 24 hours a day, 7 days a week. While you are sleeping, potential customers can find your page, read your reviews, browse your products or services, and send you a message.
And the best part? Creating a Facebook Business Page is completely free.
Beyond visibility, a Facebook Business Page gives you access to Facebook Ads — one of the most powerful and affordable advertising platforms ever created. You cannot run ads without a page. You cannot see your audience insights without a page. You cannot build a following, create events, or showcase your products without a page.
So if you are a business owner, a freelancer, a content creator, or anyone building something — a Facebook Business Page is not optional anymore. It is foundational.
Now, let us build yours.
What You Need Before You Start
Creating a Facebook Business Page takes less than thirty minutes if you are prepared. Before you begin, make sure you have the following ready:
A personal Facebook account. Facebook requires every Business Page to be connected to a personal profile. If you do not have one, you will need to create one first. Your personal account does not need to be public — it just needs to exist. The Business Page will have its own separate identity, name, and presence.
Your business name. Sounds obvious, but use the exact name you want customers to find you by. Consistency matters — your Facebook page name should match your signboard, your Google listing, and your other online profiles.
A profile photo. This is typically your logo. If you do not have one yet, a clean, simple image with your business name on a solid background works fine. The recommended size is 170 x 170 pixels.
A cover photo. This is the large banner image at the top of your page. Think of it as a billboard — it should communicate what your business does at a glance. Recommended size is 820 x 312 pixels.
Your business information. This includes your address (if you have a physical location), phone number, website URL, business hours, and a short description of what you offer.
Got everything? Let us go.
Step 1 — Log Into Facebook and Navigate to Page Creation
Open your browser and go to facebook.com. Log in to your personal Facebook account.
Once you are logged in, look at the left-hand sidebar on your home screen. You will see a menu with options like Home, Watch, Marketplace, and Groups. Scroll down until you see Pages — click on it.
On the Pages section, you will see a blue button on the left side that says “Create New Page.” Click that.
Alternatively, you can go directly to facebook.com/pages/create — that takes you straight to the page creation screen.
You are now at the starting point. The page creation interface is clean and straightforward — Facebook has simplified it significantly over the years. You will see a form on the left side and a live preview of your page on the right. As you fill in information, the preview updates in real time so you can see exactly how your page will look to visitors.

Step 2 — Enter Your Page Name
The first field you will see is Page Name.
This is one of the most important decisions you will make. Your Page Name is how people find you on Facebook, how they tag you in posts, and how you appear in search results — both on Facebook and on Google.
Rules for choosing your Page Name:
Use your actual business name. Do not add unnecessary keywords, locations, or descriptors to try to game the algorithm. Facebook has become quite strict about this — names like “Best Salon in Delhi — Priya Beauty Parlour” can get your page flagged or rejected. Just use “Priya Beauty Parlour.”
Keep it consistent with all your other platforms. If your Instagram is @PriyaBeautyParlour and your Google listing says Priya Beauty Parlour — your Facebook Page should say the same thing. Consistency builds trust and makes you easier to find.
Make it easy to spell and remember. Avoid unusual spellings, special characters, or abbreviations that customers might not recognize.
Once you type your page name, you will see it update in the preview on the right side. If it looks right, move on.

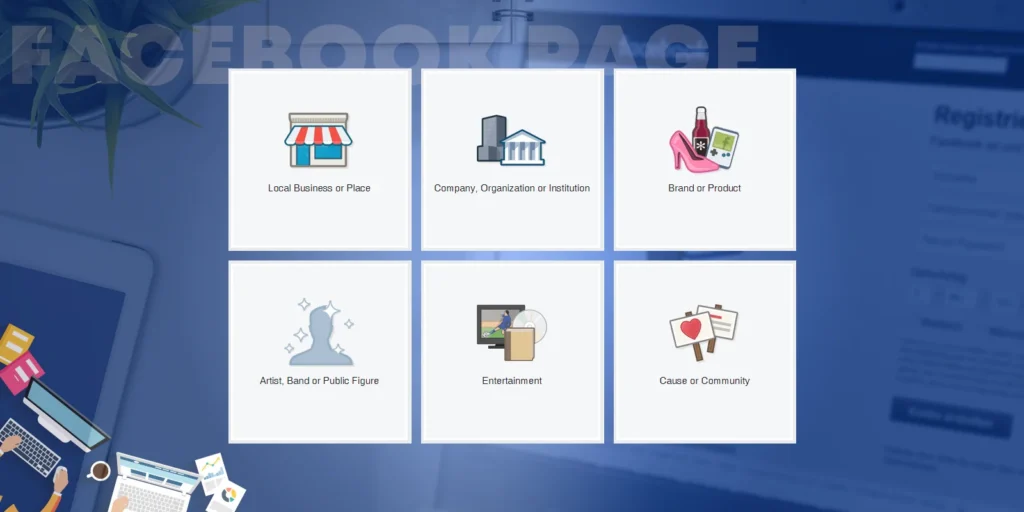
Step 3 — Choose Your Category
Right below the page name, you will see a field labeled Category.
This is where you tell Facebook what kind of business you run. Start typing a word related to your business — “restaurant,” “salon,” “clothing,” “coaching,” “doctor,” “gym” — and Facebook will show you a dropdown list of matching categories. You can select up to three categories.
Choose the most accurate ones. This matters because Facebook uses your category to recommend your page to users who are interested in that type of business, to display the right information fields (like menu for restaurants, or appointment booking for salons), and to position your page correctly in search results.
Do not overthink this. Pick the one or two categories that most accurately describe what you do. You can always change them later.
Step 4 — Write Your Business Description
Next, you will see a text box labeled Description. You have 255 characters to work with — roughly two to three sentences.
This description appears right on your page, below your page name. It is often the first thing a visitor reads after seeing your page name and cover photo. It needs to answer one question instantly: “What does this business do and why should I care?”
A weak description looks like this: “We are a beauty salon offering various services to our valued customers.”
A strong description looks like this: “Priya Beauty Parlour — Delhi’s go-to destination for bridal makeup, hair treatments, and skincare. Walk in or book an appointment. We make you feel like yourself, only better.”
See the difference? The second one is specific, warm, and gives the reader a clear picture of what to expect. It also has a subtle call to action — “book an appointment.”
Write your description with this formula in mind: What you do + Who you serve + Why you are the right choice. You do not need all three in every description, but aim to capture at least two of them.
When you are happy with it, click the blue “Create Page” button at the bottom of the form.
Congratulations — your Facebook Business Page now exists. But we are far from done. A page without complete information is like a shop with a sign but no products on the shelves. Let us fill it out properly.

Step 5 — Add Your Profile Photo
After creating the page, Facebook will prompt you to add a profile photo.
Your profile photo appears as a small circular image on your page, next to your page name in comments, in the news feed when you post, and in search results. It is small — but it is always visible. This means it needs to work at a small size.
Best practices for your profile photo:
For most businesses, your logo works perfectly here. Make sure it is centered, not cut off, and readable even at small sizes. If your logo has a lot of text or detail, consider using just the icon or symbol portion of it.
If you do not have a logo, a clean, well-lit photo of your storefront or a professional headshot (if you are a personal brand) works well.
Avoid using blurry images, images with white backgrounds that blend into Facebook’s white interface, or photos with a lot of text that becomes unreadable when shrunk down.
Upload your image by clicking the profile photo area. Facebook will let you crop and adjust the image before confirming. Make sure your subject is fully visible within the circular crop area.
Step 6 — Add Your Cover Photo
Next, Facebook will prompt you to add a cover photo.
The cover photo is the large banner image that spans the top of your page. It is the biggest visual real estate on your page — and one of the first things a visitor sees. Think of it as a billboard for your business.
What makes a great cover photo:
The best cover photos communicate your business identity immediately. A restaurant might show a beautifully plated signature dish. A fitness studio might show a group class in action. A clothing boutique might show a flat lay of their latest collection. A service business might show their team at work.
You can also use your cover photo as a promotional tool — featuring your tagline, a current offer, your contact number, or a call to action like “Call us to book” or “Visit us at [address].”
Technical specifications:
The recommended cover photo size is 820 x 312 pixels on desktop and 640 x 360 pixels on mobile. Since many of your visitors will be on mobile, design your cover photo so the most important content is centered — the left and right edges get cropped on smaller screens.
Tools like Canva have free Facebook cover photo templates in the exact right dimensions. If you are not a designer, start with a template and customize it with your colors, fonts, and images.
Once you upload your cover photo, you can drag it to adjust positioning. Make sure nothing important is hidden behind the profile photo circle (which sits in the bottom-left area of the cover photo on desktop).

Step 7 — Complete Your Page Information (This Is Critical)
Most people stop after adding their photos and think their page is “done.” It is not. This next section is where most pages fail — and where yours is going to stand out.
Click on “Edit Page Info” or navigate to your page’s “About” section. Here you will find a series of fields that, when filled in completely, transform your page from a skeleton into a fully functional business profile.
Let us go through each one.
Username (Page URL): This is your Facebook page’s web address — facebook.com/YourUsername. Choose a username that matches your business name as closely as possible. This makes it easy for people to find you and looks professional when you share your page link. Keep it simple, lowercase, and without spaces — use dots or underscores if needed, like @priya.beauty.parlour.
Contact Information: Add your phone number, email address, and website URL. Every field you leave empty is a potential customer who cannot reach you. If someone lands on your page at 11pm and wants to call you tomorrow, make sure your number is there. If they want to visit your website, the link should be one click away.
Location: If you have a physical location, add your complete address. This enables your page to appear in Facebook’s local search results and on Facebook Maps. Customers searching for businesses “near me” can find you this way.
Business Hours: Fill in your operating hours accurately. Facebook displays your hours prominently on your page, and it also shows visitors whether you are currently open or closed when they visit. If your hours vary, Facebook lets you set different times for different days — take the time to fill this in correctly.
Price Range: For businesses where pricing context is helpful — restaurants, salons, shops — adding your price range (₹, ₹₹, ₹₹₹, or ₹₹₹₹) helps set customer expectations before they even contact you.
Additional Story / Long Description: This is a longer text field where you can tell your full business story. Unlike the 255-character description on your main page, this section has no character limit. Use it wisely — share your origin story, your values, what makes you different, what customers can expect when they work with you. This is where trust is built. Write it in a warm, human voice — not like a legal document.
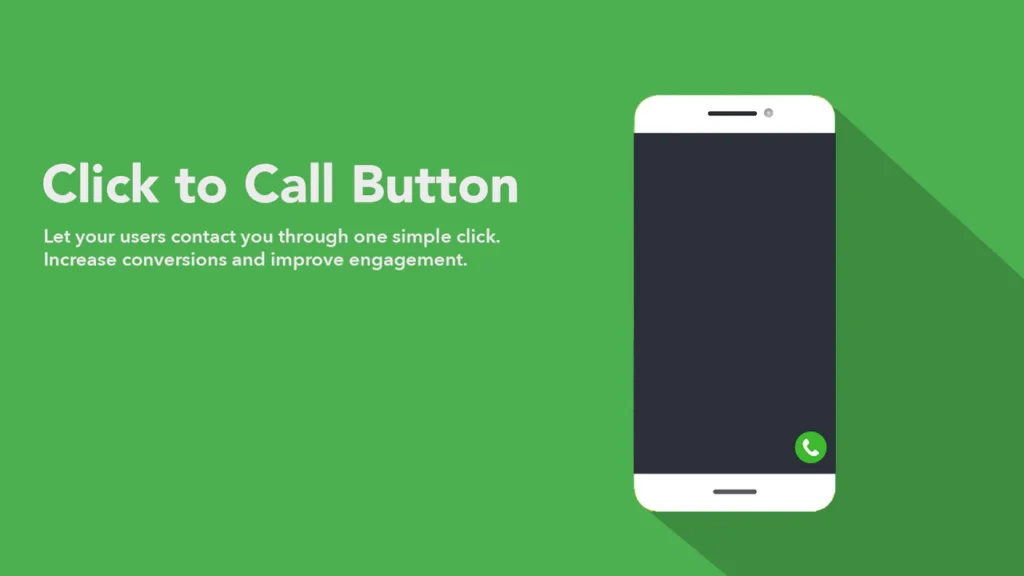
Step 8 — Add a Call to Action Button
One of the most powerful and underused features of a Facebook Business Page is the Call to Action (CTA) button. This is a prominent button that appears at the top of your page, just below your cover photo.
Facebook gives you several options for what this button can do. It can say “Call Now” and connect directly to your phone number. It can say “Send Message” and open Facebook Messenger. It can say “Book Now” and link to an appointment booking page. It can say “Shop Now” and link to your online store. It can say “Learn More” and send visitors to your website.
To add or edit your CTA button, click on the blue button area near the top of your page — it may currently say “Add a Button.” Choose the option that makes the most sense for your business goal.
For most local businesses, “Call Now” or “Send Message” are the strongest choices — they make it as easy as possible for a potential customer to take immediate action. For e-commerce businesses or those with online booking, “Shop Now” or “Book Now” drive direct conversions.
Do not skip this step. The CTA button is prominently placed and highly visible — it is often the first thing a visitor clicks after reading your page description.
Step 9 — Set Up Messaging and Auto-Responses
When someone sends your Facebook page a message, how quickly do you respond? Facebook actually tracks and displays your average response time on your page — “Usually responds within an hour,” “Usually responds within a day,” and so on.
Businesses that respond quickly build more trust. And customers who message you and get a fast response are significantly more likely to convert.
Here is the smart way to handle this:
Go to your page’s Inbox settings. Under Messaging Settings, you will find the option to set up Instant Replies — an automatic message that gets sent immediately when someone messages your page, even before you have seen it.
Set up an instant reply that acknowledges their message and sets expectations. Something like: “Hi! Thanks for reaching out to Priya Beauty Parlour. We usually respond within 2-3 hours during business hours. If you need to reach us urgently, give us a call at [number]. We look forward to speaking with you!”
This small automation does something powerful — it tells the customer they have been heard, reduces their anxiety about whether their message was received, and gives them an alternative contact option. All without you having to do anything manually.
You can also set up Away Messages for outside business hours, so people messaging at midnight know you will get back to them in the morning.
Step 10 — Create Your First Post
Your page is set up. Your photos are uploaded. Your information is complete. Now it is time to make your page come alive.
Before you start inviting people to your page or promoting it anywhere, publish your first post. An empty page with no content looks abandoned and untrustworthy. Your first few posts give visitors something to look at and respond to.
What should your first post be?
A warm introduction works beautifully. Tell people who you are, what you do, and what they can expect from your page. Make it genuine and conversational — not a formal press release.
Something like: “Welcome to our official Facebook page! We are [Business Name], and we are so excited to finally be here. We will be sharing [what you plan to share — tips, offers, behind the scenes, etc.]. Give us a follow and say hi in the comments — we would love to hear from you!”
Follow this with two or three more posts before you start inviting people. A product showcase. A customer testimonial. A behind-the-scenes photo. Something that shows your personality and what your business is about.
Variety in your first few posts also helps Facebook’s algorithm understand your content type, which affects how it gets distributed.
Step 11 — Invite People to Like Your Page
Now that your page has content and looks alive, it is time to get your first followers.
Start with your personal Facebook friends. Facebook has a built-in feature to invite your friends to like your page. Go to your page, click the three dots (more options) and look for “Invite Friends.” Go through your friend list and invite everyone who might be genuinely interested in your business or might know someone who is.
Be selective — inviting people who have zero interest in your business just to inflate your numbers creates a disengaged audience that actually hurts your page’s organic reach over time.
Share your page on your personal profile. Write a post announcing your new page. Keep it personal and excited — tell your story, explain why you started the business, and ask your network to show some love by liking the page and sharing it.
Add your page link everywhere. Your WhatsApp status. Your email signature. Your business card. Your Google My Business listing. Your Instagram bio. Every touchpoint you have with customers should point back to your Facebook page.
Ask existing customers to follow and review you. If you already have customers — even offline ones — tell them about your page personally. A WhatsApp message works perfectly: “Hey! We just launched our Facebook page. Would really appreciate it if you checked it out and maybe left us a review — it helps us a lot!” Most people who had a good experience with you will be happy to help.
Step 12 — Post Consistently and Engage Actively
Getting your page set up is just the beginning. What determines whether your page becomes a genuine business asset or a forgotten social media profile is what you do next — consistently, over time.
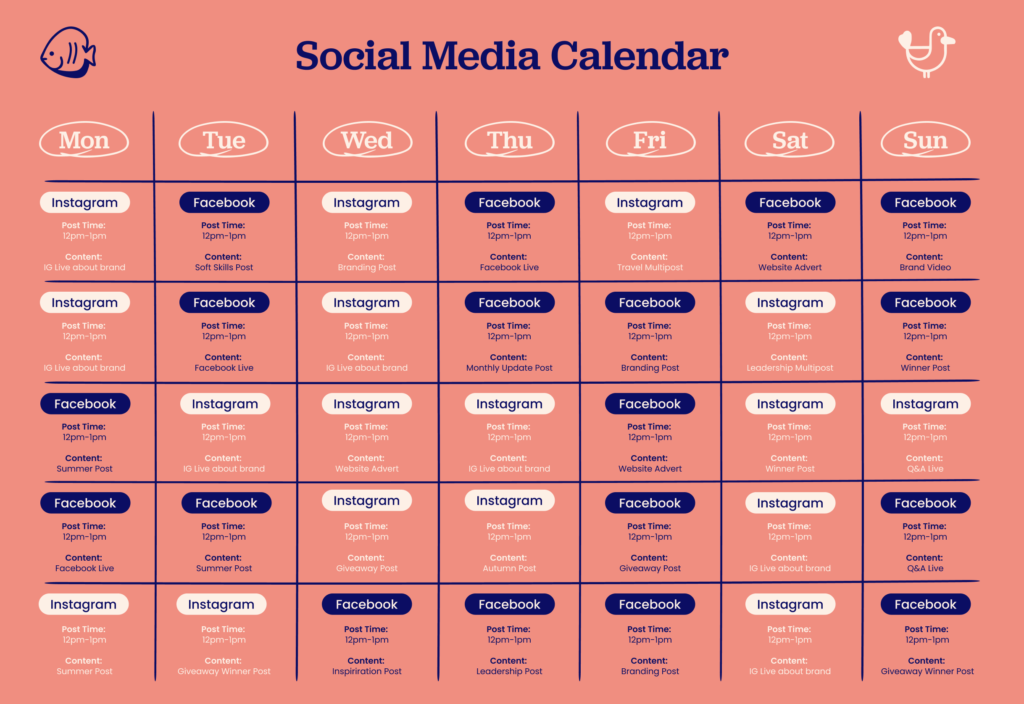
Posting frequency: For most small businesses, posting three to five times per week is ideal. Enough to stay visible and relevant, not so much that you run out of ideas and start posting low-quality content. Quality always beats quantity.
Content mix: Follow the 80-20 rule. Eighty percent of your content should add value — tips, behind-the-scenes, customer stories, product information, local relevance. Twenty percent can be promotional — offers, announcements, sales. If every post is “buy this” or “we offer this,” people tune out quickly.
Engage with every comment: In the early stages of your page, reply to every single comment you receive. Every reply signals to Facebook that your page generates engagement — which helps your content reach more people organically. And for the person who commented, a personal reply creates a small but meaningful connection with your brand.
Use Facebook Stories: Stories appear at the very top of the Facebook app and are highly visible. Even simple Stories — a quick photo of the day, a behind-the-scenes moment, a short video update — keep your page at the top of your followers’ awareness.
Post at the right time: Generally, the best times to post on Facebook are weekdays between 9am-12pm and 6pm-9pm when people are checking their phones before and after work. Use your page’s Insights (available once you have some activity) to see exactly when your specific audience is most active.
Step 13 — Enable and Optimize Facebook Reviews
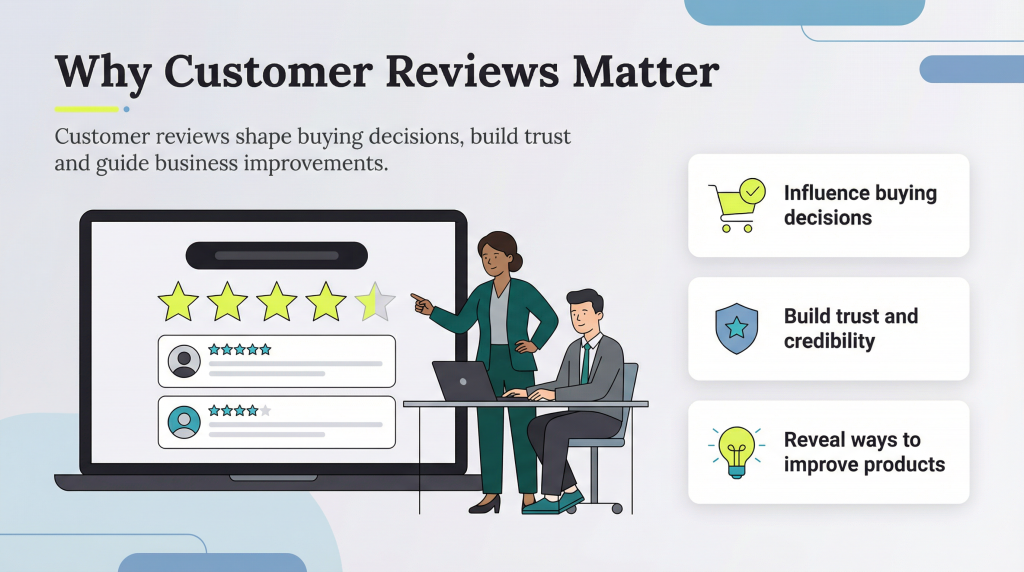
Reviews on a Facebook Business Page function similarly to Google reviews — they appear publicly, they influence purchase decisions, and they signal trustworthiness to new visitors.
To enable reviews, go to your page settings, find the “Templates and Tabs” section, and make sure the Reviews tab is turned on.
Once it is enabled, start actively asking your happy customers to leave you a review. You can send them a direct link to your reviews section — it looks like facebook.com/YourPageName/reviews. Include this link in your WhatsApp messages, emails, and even on a small card you hand to customers after a purchase or service.
How to respond to reviews: Respond to every review — positive and negative. For positive reviews, a warm, personalized thank-you goes a long way. For negative reviews, respond calmly, acknowledge the issue, and offer to make it right. Never argue or get defensive publicly. The way you handle negative feedback tells potential customers far more about your business than the negative review itself does.
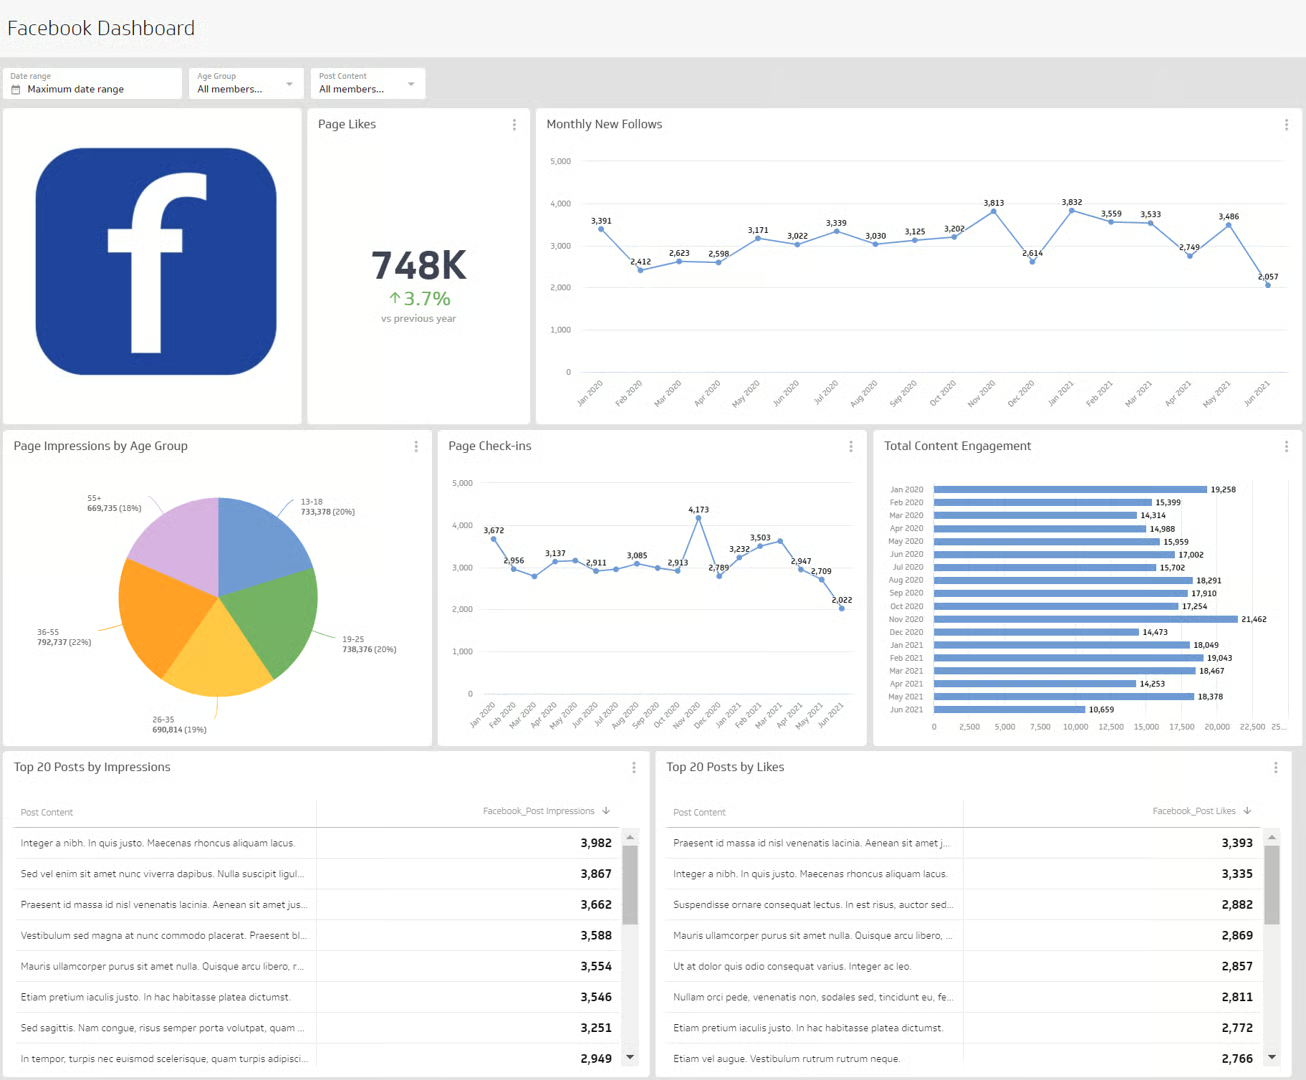
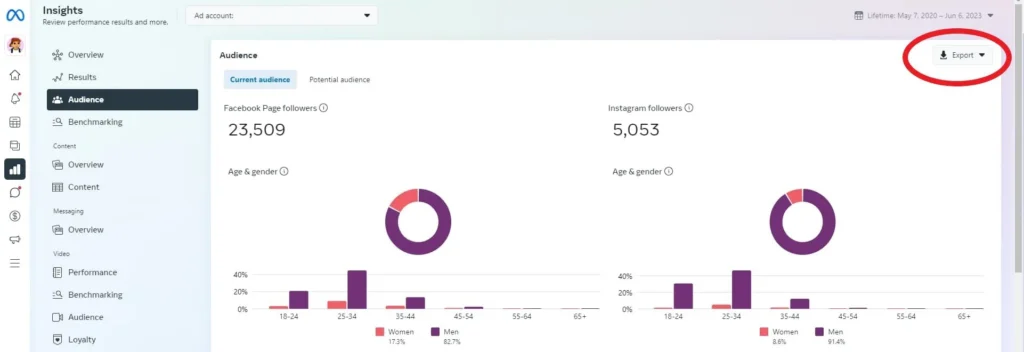
Step 14 — Explore Facebook Insights
Once your page has been active for a week or two and has some content and engagement, dive into Facebook Insights — your page’s analytics dashboard.
To access it, click on “Insights” or “Meta Business Suite” from your page menu.
Here you will find data that tells you exactly how your page is performing. You can see how many people your posts reached, how many people engaged with each post (likes, comments, shares, clicks), which posts performed best, where your followers are located, what age and gender your audience is, and what times they are most active on Facebook.
This data is pure gold. It tells you what to do more of and what to stop wasting time on. A post that reached 500 people and got 40 engagements is telling you something — make more content like that. A post that reached 50 people and got zero engagement is also telling you something.
Check your Insights at least once a week. Let the data guide your content strategy rather than guessing what works.
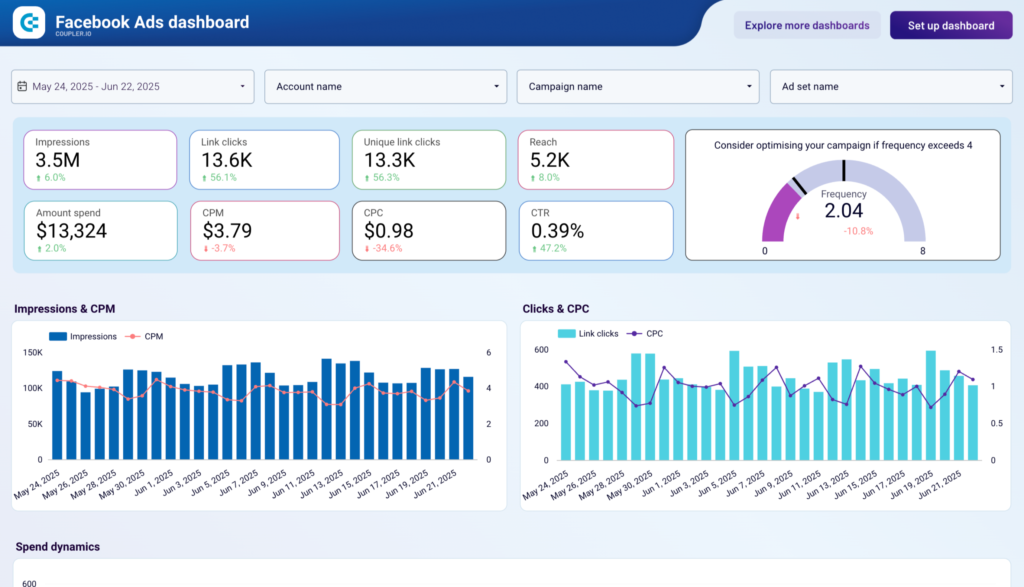
Step 15 — When You Are Ready — Facebook Ads
Once your page is set up, active, and has some organic engagement, you are ready to explore Facebook advertising.
Facebook Ads allow you to pay to show your content or a specific ad to a targeted audience — people of a specific age, in a specific location, with specific interests, behaviors, and more. You can start with as little as ₹100-200 per day and see measurable results.
The two most common starting points for small businesses are Boosted Posts — promoting a post that already performed well organically — and Page Like Ads — running an ad specifically designed to get more people to follow your page.
However, Facebook Ads is a deep topic that deserves its own dedicated guide. What matters right now is that your page is properly set up, because a well-optimized page dramatically improves the performance of every ad you run. Ads drive traffic to your page — and if your page is incomplete, unprofessional, or inactive, that traffic goes to waste.
Common Mistakes to Avoid
Now that you know what to do, let us quickly cover what not to do — because these mistakes are extremely common and they hold pages back significantly.
Using a personal profile instead of a page. Some people try to use their personal Facebook profile for business purposes. This violates Facebook’s terms of service and limits your ability to run ads, see analytics, or appear in business search results. Always use a dedicated Business Page.
Leaving your page information incomplete. Missing phone numbers, no business hours, no description — each empty field is a missed opportunity to connect with a potential customer. Fill everything in.
Posting inconsistently. A page that posts every day for two weeks and then goes silent for a month looks unprofessional and abandoned. Set a realistic schedule — even two posts per week — and stick to it.
Ignoring messages and comments. If someone takes the time to message or comment on your page and gets no response, they will not try again. And Facebook will start showing your poor response rate to visitors.
Posting only promotional content. Nobody follows a page that only tries to sell them things. Give value first. Sell second.
Buying fake likes. It is tempting when your page has only 47 followers and a competitor has 5,000. But fake followers do not buy from you, they do not engage with your content, and they actively harm your organic reach because Facebook sees low engagement relative to your follower count and reduces your distribution.
Your Facebook Business Page Checklist
Before you consider your page “launch ready,” run through this checklist:
Your page name matches your business name exactly. You have chosen the right category or categories. Your description is clear, specific, and compelling. Your profile photo is your logo or a clean, recognizable image. Your cover photo communicates your business at a glance. Your phone number, email, and website are filled in. Your address and business hours are accurate. Your CTA button is set up and working. You have set up an Instant Reply for messages. You have published at least three posts before promoting the page. You have enabled reviews. You have invited your network to like the page.
If you can check every one of those boxes — your page is ready.
Final Thoughts — Your Page Is Just the Beginning
A Facebook Business Page is not a magic solution. Simply having one will not flood your inbox with customers overnight. But a well-built, consistently maintained, genuinely engaging Facebook page is one of the most powerful and cost-effective tools available to any business — of any size, in any industry.
The businesses that win on Facebook are not the ones with the biggest budgets. They are the ones that show up consistently, talk to their audience like human beings, and use the platform’s tools intelligently.
You now know exactly how to build that foundation. The rest is consistency, creativity, and showing up — day after day — for the people who choose to follow you.
Start today. Your future customers are already on Facebook, right now, looking for exactly what you offer.
Go give them a reason to find you.
Written by Digital Drolia | Helping businesses build a powerful digital presence — one step at a time.