![]()


How to Create a Facebook Business Page | Digital Drolia
By Digital Drolia | Social Media Marketing | Beginner’s Guide
If you are a business owner, freelancer, content creator, or anyone who wants to grow their brand online, then having a Facebook Business Page is not just a good idea — it is absolutely necessary in today’s digital world.
With over 3 billion active users, Facebook remains one of the most powerful social media platforms on the planet. And the best part? Creating a Facebook Business Page is completely free. You do not need to spend a single rupee just to set one up and start reaching your audience.
But here’s the thing — a lot of people either don’t know how to create one properly, or they make small mistakes that cost them big in the long run. That’s exactly why I wrote this guide. Whether you are starting from scratch or just want to make sure you’re doing it the right way, this step-by-step blog will walk you through everything.
Let’s get into it.
Why Do You Even Need a Facebook Business Page?
Before we jump into the “how,” let me quickly explain the “why” — because understanding the purpose helps you set things up with the right intention.
1. Your Personal Profile is Not Enough
A lot of people make the mistake of using their personal Facebook account to promote their business. That’s a big no. Facebook’s terms of service actually prohibit using personal accounts for commercial purposes. More importantly, your personal profile has limitations — you can only have up to 5,000 friends, you can’t run ads, and you lose access to analytics and insights.
A Business Page, on the other hand, gives you:
- Unlimited followers
- Access to Facebook Ads Manager
- Detailed page insights and analytics
- The ability to schedule posts
- Multiple admin roles for your team
- A professional identity for your brand
2. It Builds Trust
Think about it from a customer’s perspective. If someone hears about your business and searches for it on Facebook, which would make you trust the brand more — a personal profile with vacation photos, or a proper business page with your logo, contact info, and reviews? Exactly.
3. It’s a Free Marketing Tool
Facebook Business Pages are free to create. You can post content, interact with customers, share updates, collect reviews, and even run paid advertising campaigns — all from one place. For small businesses and startups, this is an incredible resource.
What You Need Before You Start
Before you begin creating your page, make sure you have these things ready:
- A personal Facebook account (you need one to create a business page — Facebook links them in the backend, but your personal profile won’t be visible to page visitors)
- Your business name (exactly as you want it to appear)
- A profile picture (usually your logo — recommended size: 170×170 pixels)
- A cover photo (a banner image for your page — recommended size: 820×312 pixels)
- A short business description (1-2 sentences about what your business does)
- Your contact information (phone number, email, website, address if applicable)
- Your business category (e.g., Digital Marketing Agency, Restaurant, Clothing Store, etc.)
Having all of this ready before you start will make the process much smoother.
Step-by-Step Guide: How to Create a Facebook Business Page
Step 1: Log In to Your Personal Facebook Account
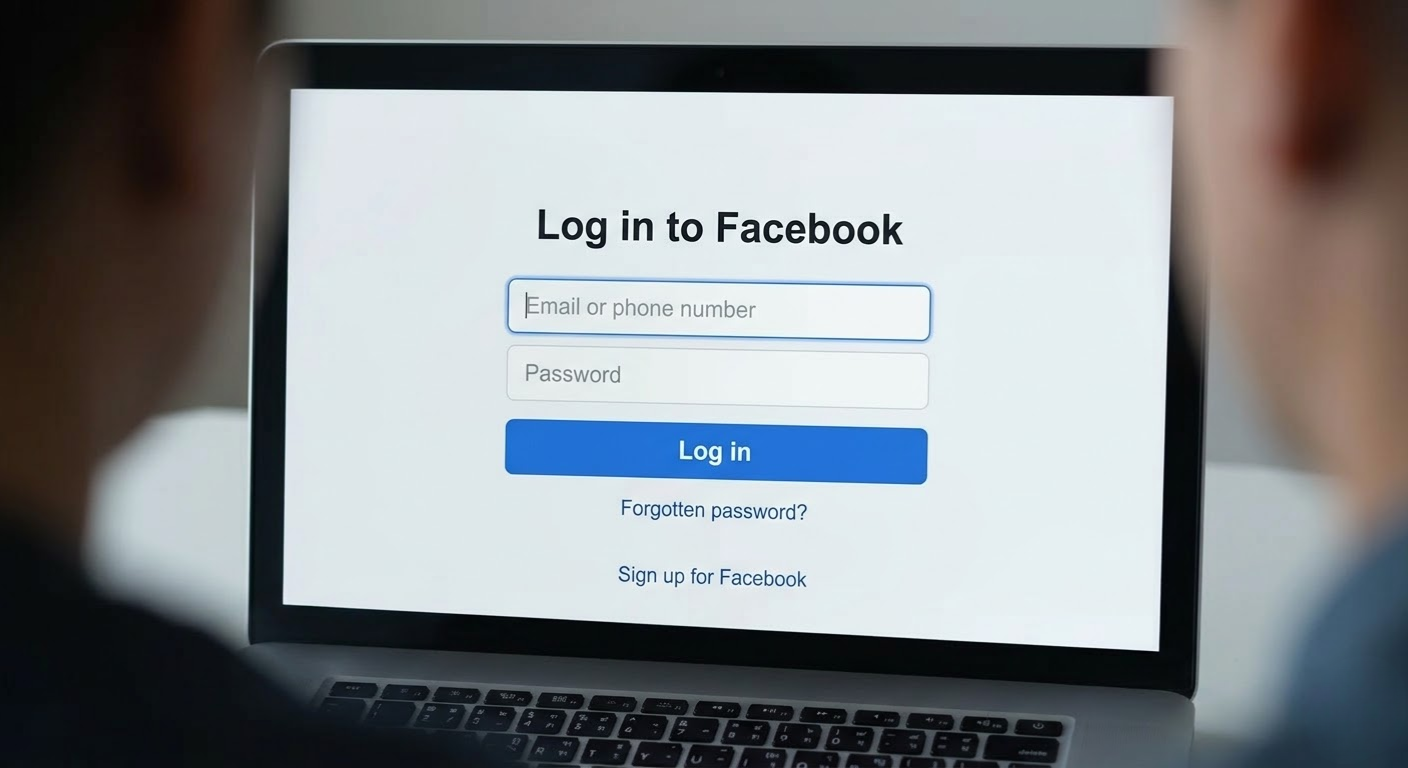
Go to facebook.com and log in to your personal account. Remember, you need a personal account to create a business page. If you don’t have one, you’ll need to sign up first.
Once you’re logged in, you’ll land on your news feed.
Step 2: Navigate to “Create a Page”

There are two easy ways to get to the page creation section:
Option A: On the left sidebar of your Facebook home screen, scroll down and look for “Pages”. Click on it, and then click the “+ Create New Page” button.
Option B: Click on the menu icon (the grid of nine dots) in the top right corner, scroll down, and find “Page” under the Create section.
Either way, you’ll be taken to the same page creation interface.
Step 3: Enter Your Page Name and Category
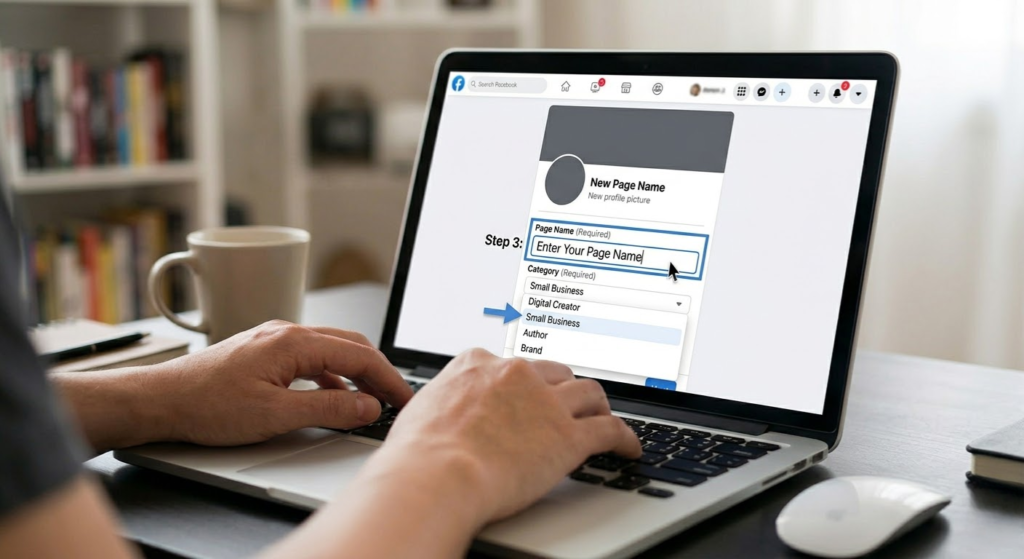
This is the first and most important step of the actual setup.
Page Name: Your page name should be your business name — simple and clear. Don’t try to stuff keywords into it (like “Best Digital Marketing Agency in Delhi Cheap Affordable”). Facebook may penalize that, and it looks unprofessional. Just use your brand name.
Category: Start typing your business type in the category box and Facebook will suggest options. You can choose up to 3 categories. For example, if you run a digital marketing agency, you might select:
- Digital Marketing Agency
- Marketing Agency
- Advertising Agency
Choosing the right categories helps Facebook show your page to the right people.
Description: Write a short, clear description of what your business does. This shows up on your page and in search results, so make it count. Keep it under 255 characters. Something like:
“Digital Drolia helps small businesses grow online through smart social media strategies, SEO, and digital advertising.”
Once done, click “Create Page.”
Step 4: Add a Profile Picture

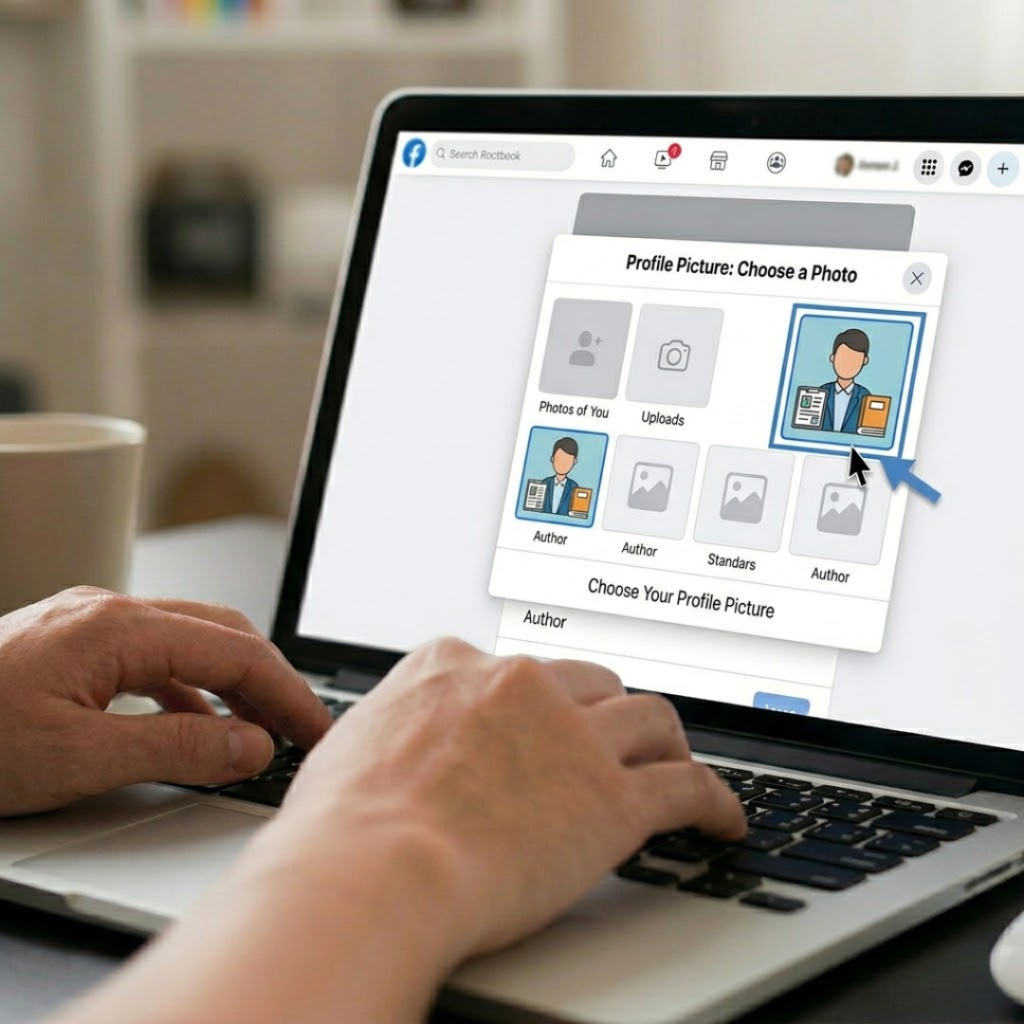
Your profile picture is the first visual impression people will have of your brand. For most businesses, this should be your logo.
Click “Add Profile Picture” and upload your image. Facebook recommends a size of 170×170 pixels. The image will be displayed as a circle on your page, so make sure your logo or image is centered and nothing important is cut off at the edges.
A clean, high-resolution image works best. Avoid blurry or pixelated images — they make your brand look unprofessional.
Click “Save” once you’re happy with it.
Step 5: Add a Cover Photo
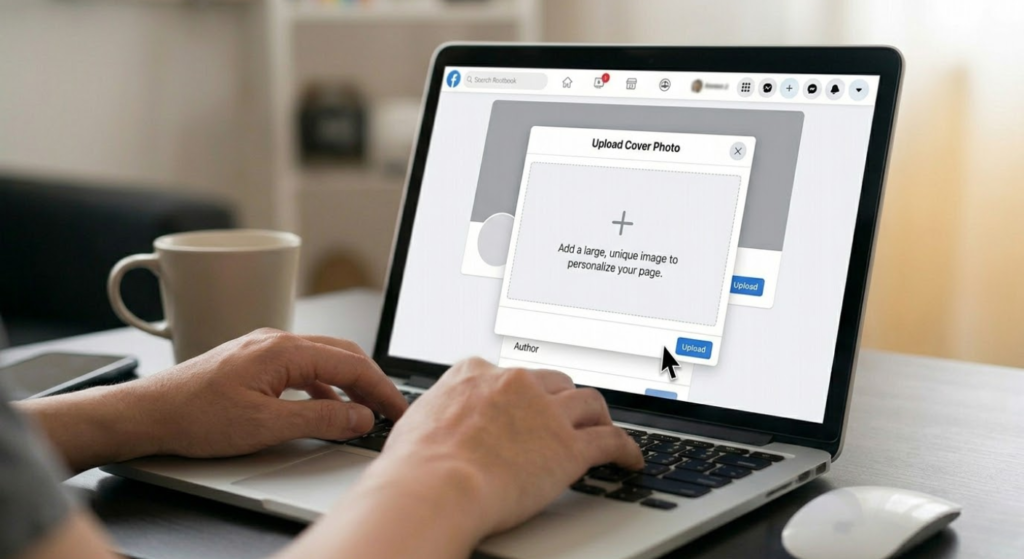
The cover photo is the large banner image at the top of your Facebook page. It’s prime real estate for your brand. You can use this space to:
- Showcase a product or service
- Display a promotional offer
- Reinforce your brand message
- Add your tagline or website URL
The recommended size is 820×312 pixels for desktop and 640×360 pixels for mobile. Since many people view Facebook on their phones, make sure your design looks good on both.
Tools like Canva (free) make it super easy to design a professional-looking cover photo even if you’re not a designer.
Click “Add Cover Photo”, upload your image, adjust the positioning if needed, and click “Save.”
Step 6: Fill In Your Page Details
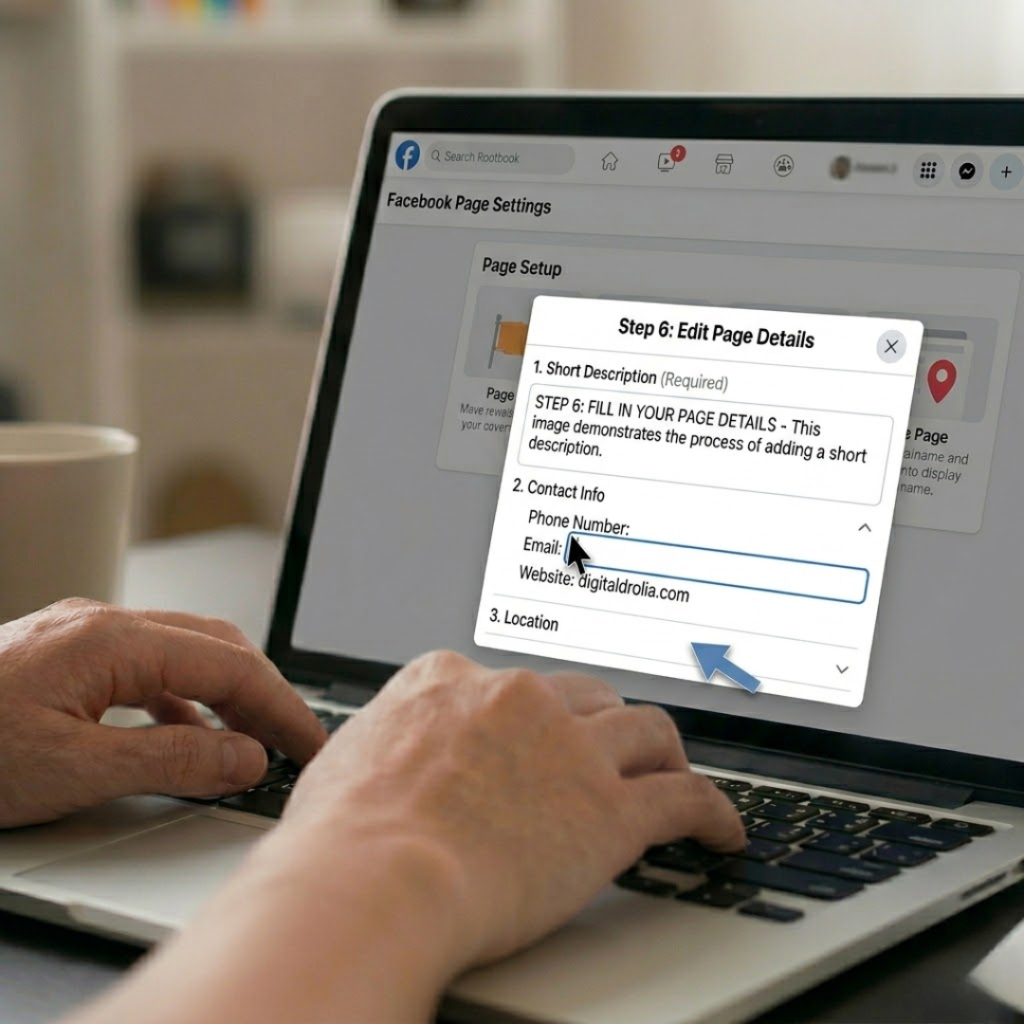
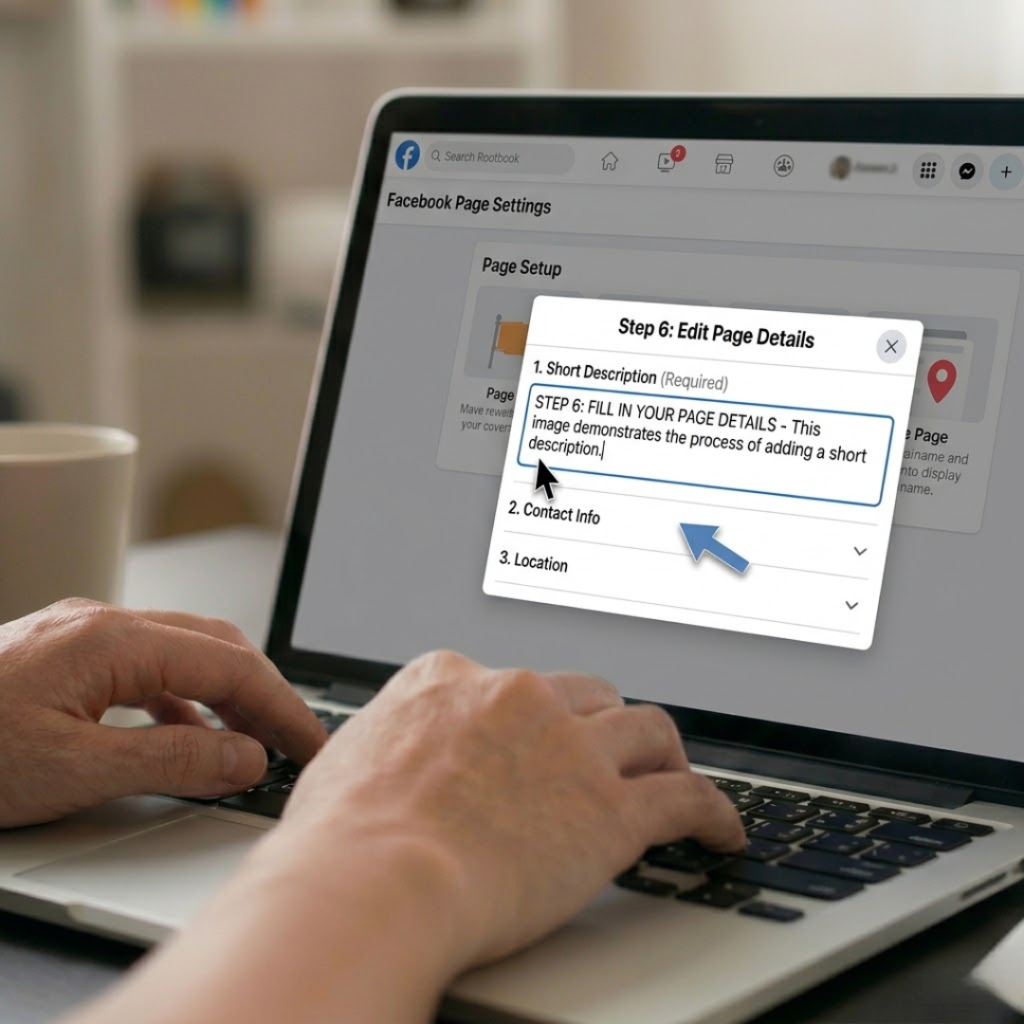
Now that the visual setup is done, it’s time to fill in all the important details that make your page informative and trustworthy.
Go to your page, click “Edit Page Info” or navigate to the About section.
Here’s what you should fill in:
Contact Information:
- Phone number
- Email address
- Website URL
Location: If you have a physical store or office, add your address. This is important for local businesses because it helps you show up in local Facebook searches and Google Maps.
Hours of Operation: If you have working hours (like a shop or salon), add them here. This helps customers know when they can reach you.
Additional Information:
- Founded date
- Mission statement (optional but adds personality)
- Products/services you offer
The more complete your page is, the more credible and professional it looks — and the better it performs in Facebook’s internal search.
Step 7: Create Your Custom Facebook URL (Username)
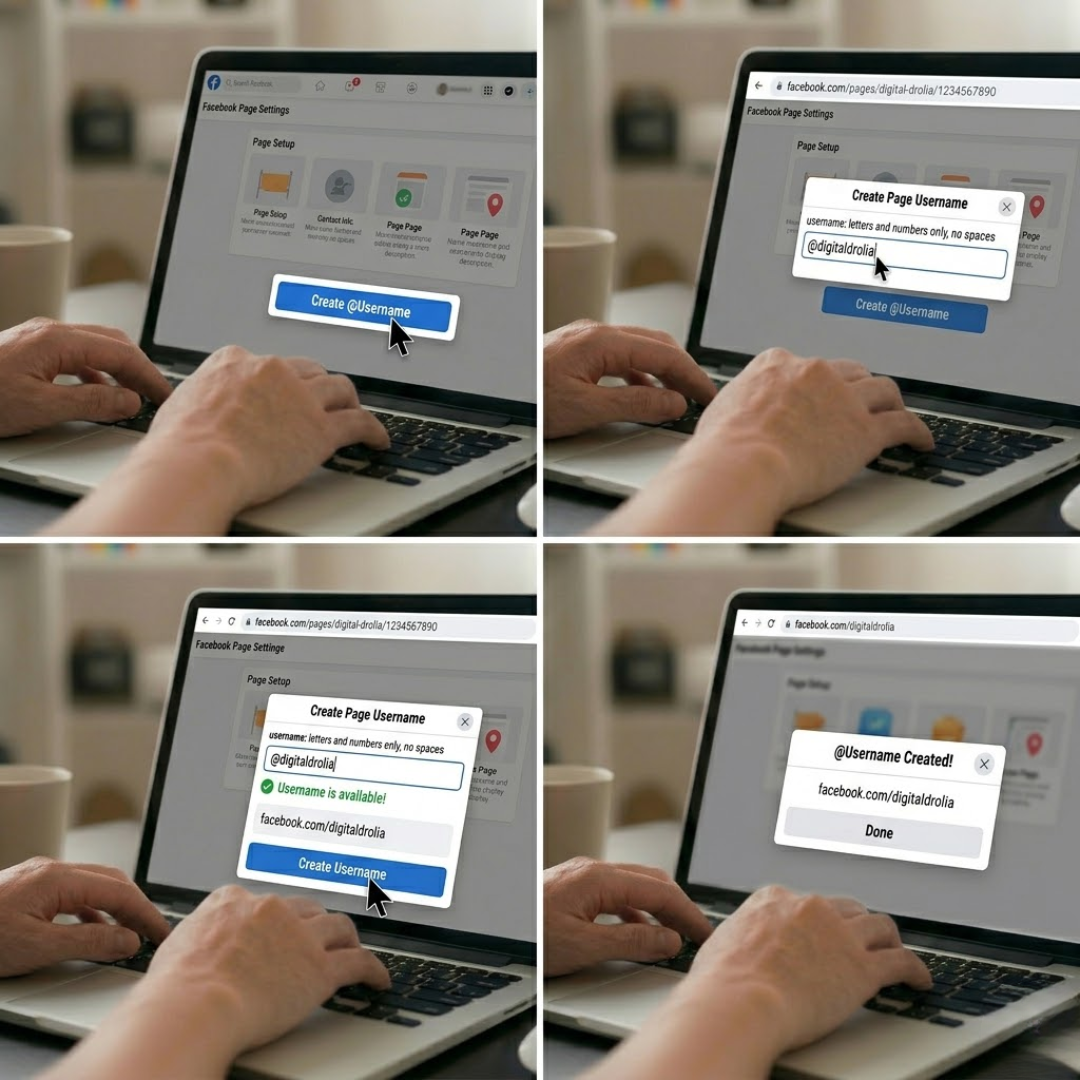
By default, your Facebook page will have a long, ugly URL like: facebook.com/pages/digital-drolia/1234567890
You can change this to something clean and professional like: facebook.com/digitaldrolia
To do this:
- Go to your page settings
- Look for “Username” or click “Create Page @Username”
- Type your preferred username (no spaces, use letters and numbers only)
- Click “Create Username” if it’s available
This makes your page easier to share, easier to remember, and looks far more professional on business cards, email signatures, and other marketing materials.
Step 8: Add a Call-to-Action (CTA) Button
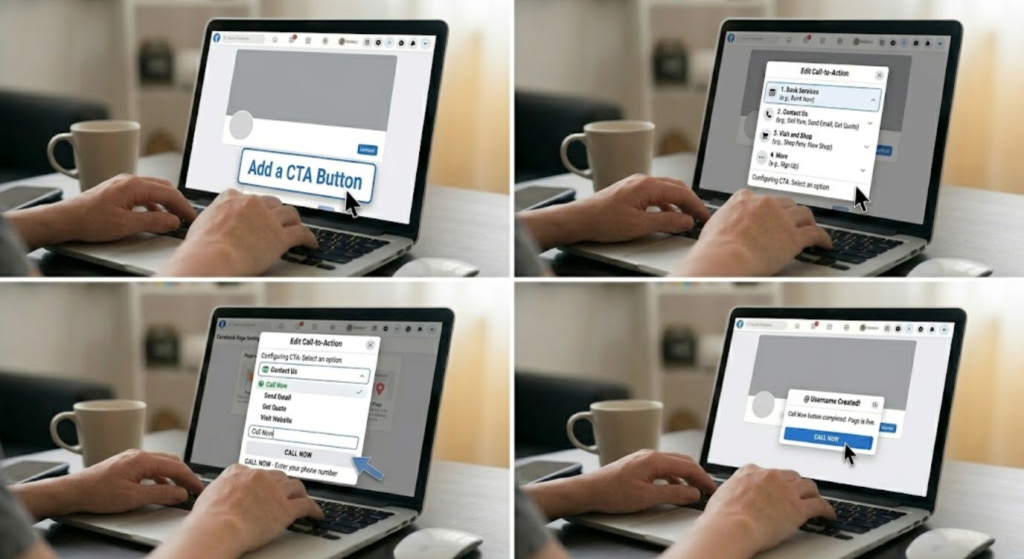
One of the most underrated features of Facebook Business Pages is the CTA button — the button that appears right below your cover photo.
This button can be customized to:
- Book Now (great for salons, clinics, consultants)
- Contact Us
- Send Message
- Call Now
- Visit Website
- Shop Now
- Sign Up
To add it, click the “+ Add a Button” option below your cover photo, choose the action that makes the most sense for your business, and follow the prompts to link it to the right destination (your website, WhatsApp number, booking page, etc.).
This one small feature can significantly increase the number of leads and inquiries you get from your page.
Step 9: Post Your First Piece of Content
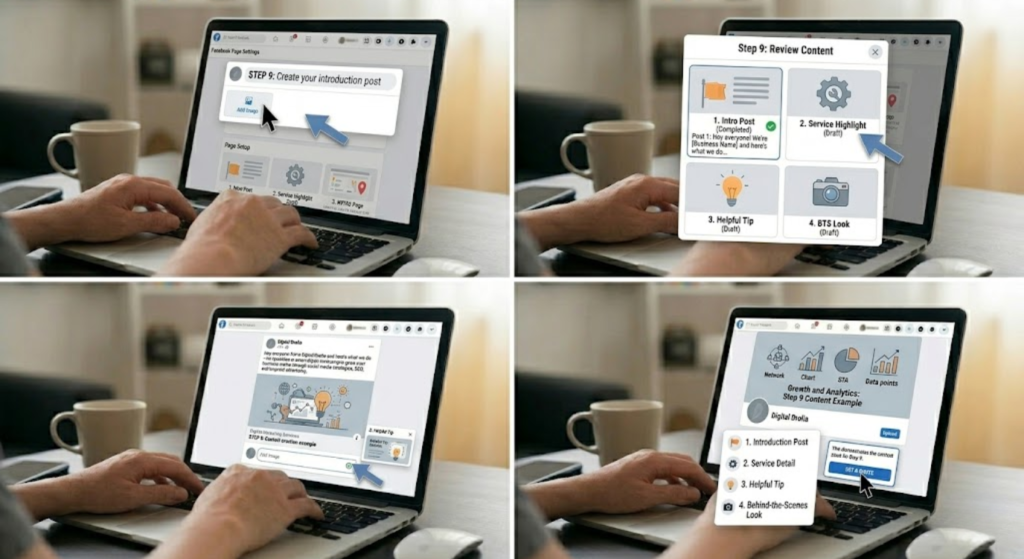
Your page is set up — now it’s time to bring it to life. Before you start inviting people to like your page, post at least 3–5 pieces of content first. A brand new page with zero posts looks abandoned and won’t inspire confidence.
What should you post?
- An introduction post: “Hey everyone! We’re [Business Name] and here’s what we do…”
- A post about one of your services or products
- A helpful tip related to your industry
- A behind-the-scenes look at your business
- Customer testimonial or a positive review
Make sure your posts have:
- Good visuals (images or videos perform much better than plain text)
- A clear message (what are you trying to say?)
- A call to action (what should the reader do next — comment, share, visit your website?)
Consistency is key. Don’t go silent after your first week. Even 3–4 posts per week can make a big difference over time.
Step 10: Invite Friends and Start Growing Your Audience
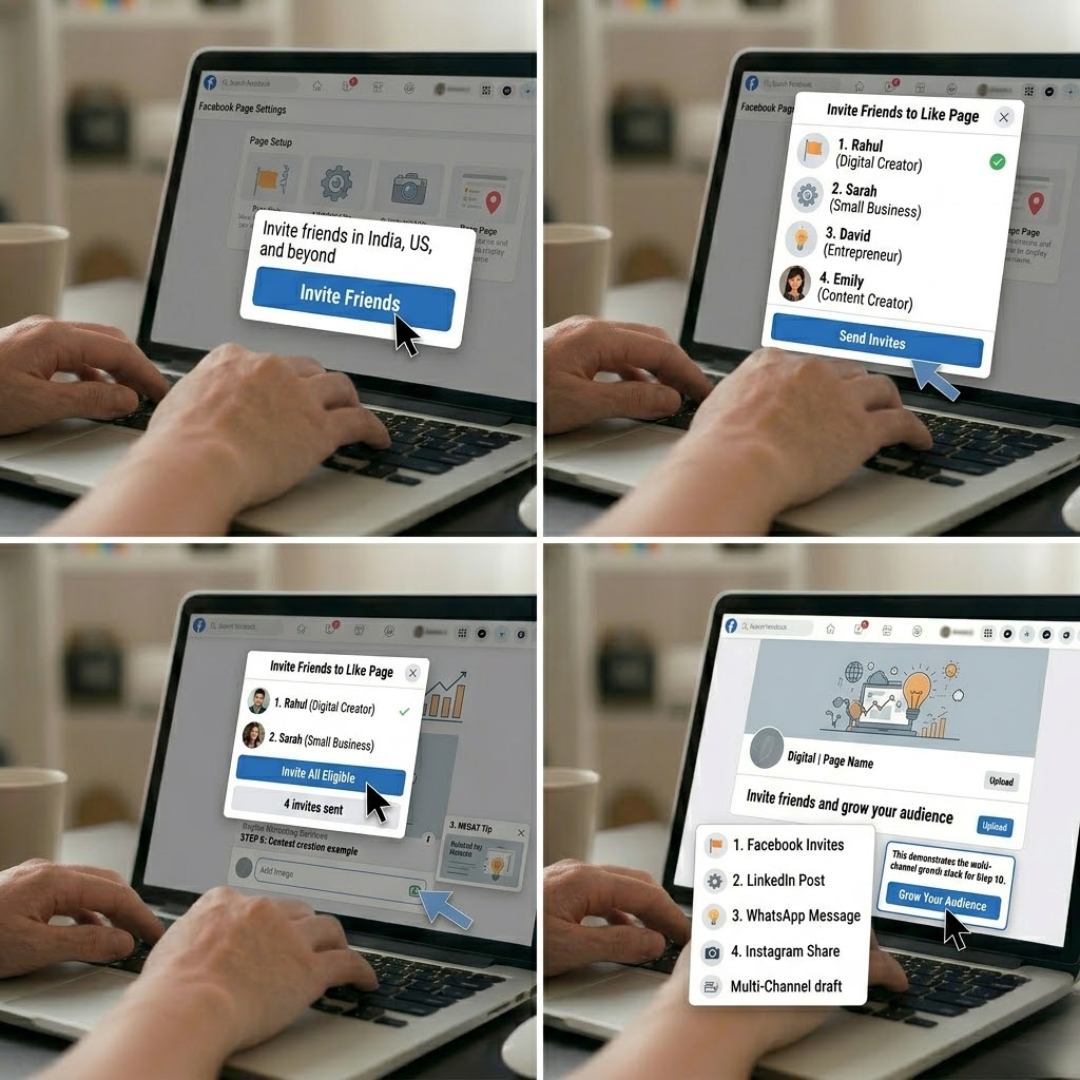
Now that your page looks great and has some content, it’s time to get your first followers.
Click “Invite Friends” on your page — Facebook will show you a list of your personal friends who you can invite to like the page. Start with people who are most likely to be genuinely interested in what you do.
Beyond that:
- Share your page on your personal profile
- Add your Facebook page link to your email signature
- Mention it in your WhatsApp groups (if relevant)
- Add a Facebook link to your website or blog
- Cross-promote on Instagram, LinkedIn, or Twitter
Don’t buy fake likes. I know it’s tempting when you see pages with 10,000 likes but it’s all smoke and mirrors. Fake followers don’t engage, don’t buy, and actually hurt your page’s organic reach. Build slowly but build real.
Pro Tips to Make Your Facebook Business Page Stand Out
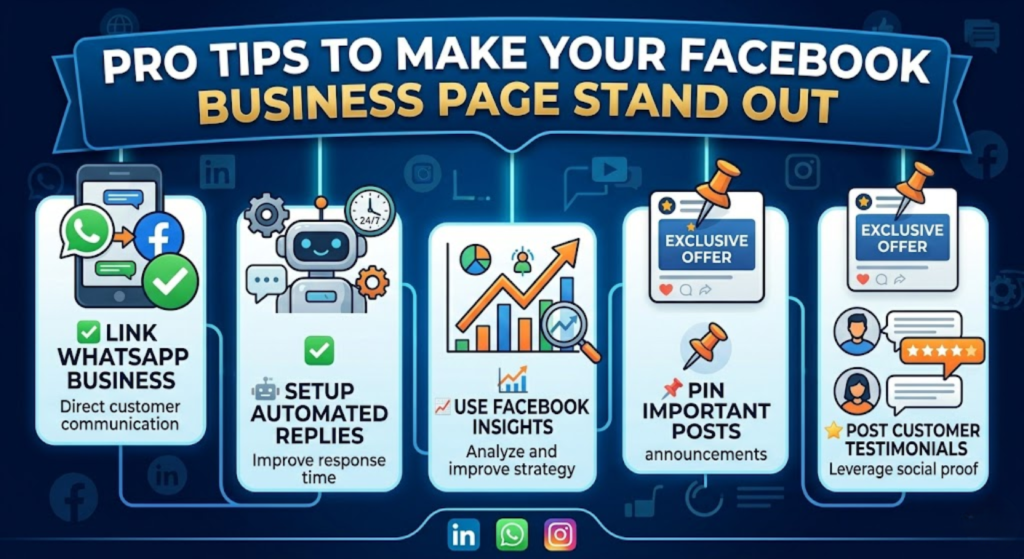
Here are a few extra things that most beginners skip but can make a huge difference:
Turn On WhatsApp Chat Integration
If you use WhatsApp for business communication, you can link your WhatsApp number directly to your Facebook page. This makes it incredibly easy for customers to reach you with one click.
Set Up Automated Replies
Go to your Page Inbox settings and enable automated responses for common questions. You can set up a greeting message, a list of FAQs, and even out-of-hours messages. This improves customer experience and response time.
Use Facebook Insights
Facebook gives you free analytics on your page. Go to “Insights” on your page and explore:
- Which posts are getting the most reach and engagement
- When your audience is most active
- How your page is growing over time
Use this data to improve your content strategy.
Pin an Important Post
You can “pin” a post to the top of your page so it’s always the first thing visitors see. Use this for your most important announcement, a special offer, or an introduction post about your business.
Verify Your Page (If Eligible)
A verified page gets a grey or blue checkmark badge, which adds a huge layer of trust. Businesses with a physical address can apply for a grey badge verification through Facebook’s settings. It may take some time to process, but it’s worth pursuing.
Common Mistakes to Avoid
Let me also quickly point out some of the most common mistakes people make with their Facebook Business Pages:
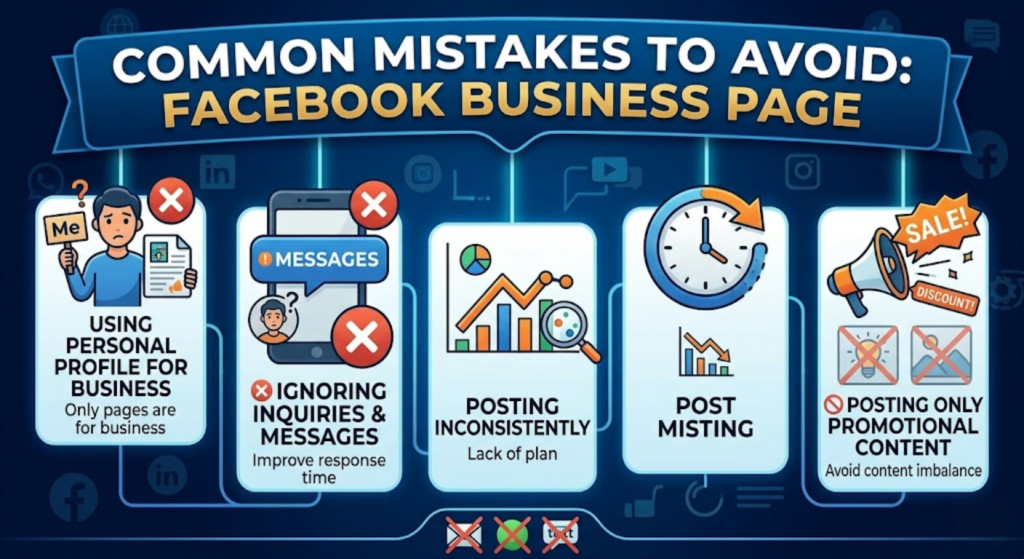
- Using a personal profile instead of a business page — as mentioned earlier, this violates Facebook’s terms and limits your growth.
- Leaving the page incomplete — a page without a profile picture, cover photo, or contact details looks abandoned. Always complete your page setup fully.
- Posting inconsistently — going weeks without posting and then bombarding followers with 10 posts in a day is a terrible strategy. Make a content calendar and stick to it.
- Ignoring comments and messages — social media is a two-way conversation. If people are commenting on your posts or sending you messages and you’re not responding, you’re missing out on potential customers and damaging your brand’s reputation.
- Buying fake followers or engagement — this is a waste of money and actively hurts your page’s algorithmic performance.
- Posting only promotional content — people follow pages that give them value. Mix in educational content, behind-the-scenes posts, industry news, and fun content alongside your promotional posts.
Frequently Asked Questions
Q: Do I need a personal Facebook account to create a business page? Yes. Facebook requires you to have a personal account to create and manage a business page. However, your personal account details are not visible to people who visit your business page.
Q: Is creating a Facebook Business Page free? Absolutely. Creating and maintaining a Facebook Business Page is completely free. You only spend money if you choose to run paid ads.
Q: Can I have more than one admin on my Facebook page? Yes! You can add multiple people as admins, editors, moderators, advertisers, or analysts on your page — each with different levels of access. This is great if you have a team helping you manage your social media.
Q: How long does it take to grow a Facebook page? There’s no shortcut here. With consistent, quality content and engagement, most pages start seeing meaningful organic growth within 3–6 months. Running Facebook Ads can speed up the process.
Q: Can I change my page name after creating it? Yes, but with limitations. Facebook allows you to change your page name, but the request goes through a review process and may be denied if the new name doesn’t follow their guidelines.
Final Thoughts
Creating a Facebook Business Page is one of the simplest and most impactful things you can do for your brand in the digital age. It costs nothing to set up, takes less than an hour to complete, and opens the door to millions of potential customers.
But remember — the page is just the beginning. What you do with it after that is what truly matters. Consistent posting, genuine engagement with your audience, smart use of insights, and eventually running targeted ad campaigns are what will turn your Facebook page into a real business asset.
If you found this guide helpful, share it with someone who’s been wanting to set up their business page but didn’t know where to start. And if you have any questions, drop them in the comments below — I read every single one.
Until next time, — Digital Drolia